The best-sourced build in Slotbound is a wall: Duelist → Veteran → General in front, Mage → Cleric → High Priest behind. It wins by not dying — it survives burst, keeps the frontline standing and grinds bosses down slowly. Its failure mode is equally well documented: low damage and attrition, which is why you need a second damage source before wave ten.
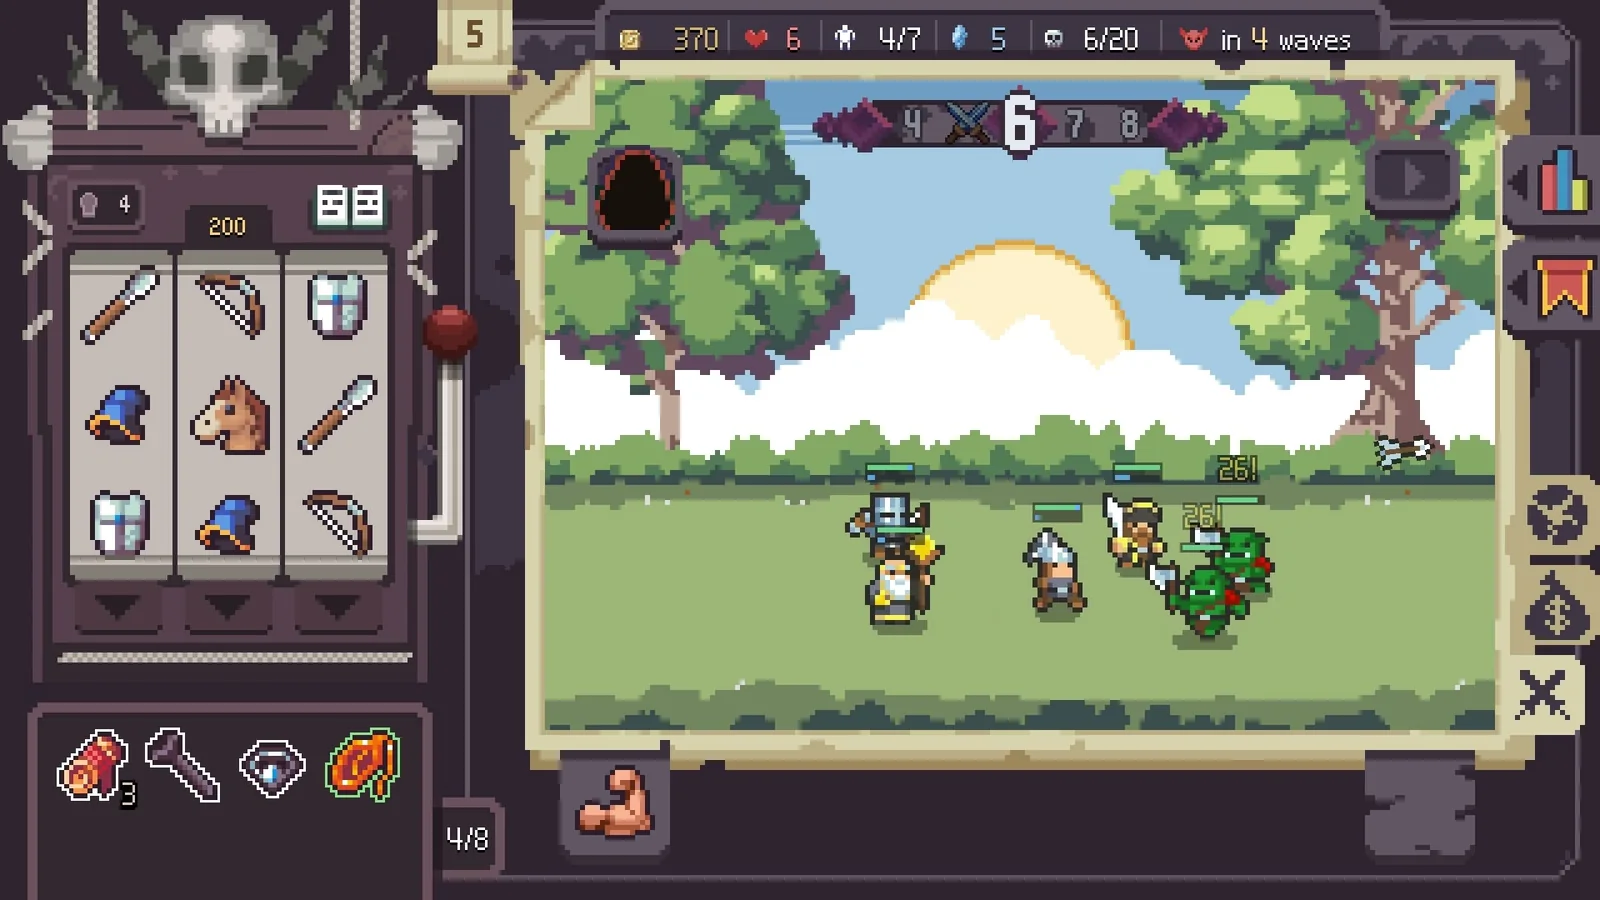
Every discussion of Slotbound builds arrives here eventually. A Steam thread and the long community guide describe the same shape: one promoted frontline unit holding the middle, one promoted healer keeping it alive, everything else feeding them or buying time. It is not fast, but it is the best-documented plan in the game.
The shape of the build
Two ladders, one recipient each. Everything else protects those two units or buys them a wave of time. The absorption decisions become obvious once you commit, which is most of why the build works.
Why a wall works
The promotion chains are the reason this build has legs. Mage to Cleric to High Priest and Duelist to Veteran to General are the only two chains the sources document end to end, so you can plan around them without guessing. Most of the unit tree is community-reported; these two are mapped.
The second reason is board economy. With two clear recipients, every unit is either the wall, the healer, or food. You stop hoarding bodies you cannot support, and the army cap stops being a wall of its own.
Building it, in order
If the board refuses by wave three, read the abandonment section before you force it.
One recipient. Duplicates, spare melee, anything that is not the healer. Lock the keeper before Absorb All.
Choose Veteran. The level requirement is guide-documented; the choice inside the promotion is yours.
One healer is worth more than a second tank.
The healer is why the wall survives the second half of a long fight.
A ranged or Mage unit behind the line. This is the step players skip, and it decides wave ten.
Item priorities
- Defense on the wall first. If it dies to burst, more healing will not save it — a healer cannot out-heal a one-shot.
- Sustain on the healer second, so stray damage does not remove your only heal.
- Damage third, when the wall survives and the wave still will not end.
- Economy last. Gold generation is a wave-six purchase, never a pre-Judgment one.
The failure mode is damage
The wall does not lose to burst; it loses to time. Every fight it wins, it wins slowly, and slow fights are expensive. The documented complaint about this build is exactly that: low damage and attrition. If wave ten’s health bar has barely moved, the build is not failing at defense. It is failing at the second job you gave it.
When to abandon it
- No Mage line by the wave-five Judgment. Run a second frontline body and take the damage check honestly.
- The board gives damage and no tank. Convert to the duelist carry; same absorption plan, different recipient.
- Wave ten’s health bar is not moving. Start selling defense for damage — a faster kill beats a thicker wall.
- You are absorbing to survive rather than to promote. That is attrition wearing a build’s clothing.
Where it stops working
Endless changes the question from whether you can survive a wave to whether your damage scales. The community Endless approach — one Prism carry, six support units, one fodder for Bloodline Seal — keeps the wall logic but moves the wall onto the carry. Tank and healer is the campaign answer, not the Endless one. The Endless guide covers the rest.
FAQ
Is tank + healer the best build in Slotbound?
It is the best-documented one, which is a narrower claim. It has a Steam thread and a community guide behind it, and both promotion chains are sourced end to end. Other builds may have higher ceilings, but fewer of their steps are verifiable.
Do I need both promotion chains?
You need the frontline to hold and the healer to sustain it. Cutting the healer turns the build into a slow melee stack that loses to attrition; cutting the frontline leaves the healer with nothing to heal. If you can only finish one, finish the frontline and buy sustain with items.
What if the board never gives me a Duelist?
Use the best melee body you actually rolled and keep the same shape: one promoted front, one healer, one damage source. The build is a pattern, not a shopping list. Forcing a Duelist you do not have throws away a run that a Warrior frontline could have carried.
Duelist carry
One recipient, one promotion ladder, and a hard exit at wave four if the board will not cooperate.
Judgment waves
The first pass/fail gate in every campaign: what the crossed swords mean, what the game checks, and what to fix before wave five.
Duelist carry
One recipient, one promotion ladder, and a hard exit at wave four if the board will not cooperate.